

Creating a bootable Windows drive is essential for installing or reinstalling the Windows operating system on a computer. Whether you’re using a USB drive or a partition on your hard drive, this guide will walk you through the process in a clear, concise, and easy-to-follow manner. We’ll cover the tools needed, multiple methods to create a bootable drive, and the steps to install Windows afterward. This article avoids technical jargon where possible and ensures originality for a seamless user experience.
Table of Contents
- What is a Bootable Windows Drive?
- Tools and Requirements
- Method 1: Creating a Bootable Windows USB Using Rufus
- Method 2: Creating a Bootable Windows USB Using Windows Media Creation Tool
- Method 3: Creating a Bootable Partition on a Hard Drive
- Installing Windows from a Bootable Drive
- Troubleshooting Tips
- Conclusion
What is a Bootable Windows Drive?
A bootable Windows drive is a storage device (like a USB flash drive or a hard drive partition) that contains the Windows installation files and is configured to allow a computer to boot from it. This enables you to install or repair Windows on a computer. You can create a bootable drive using external storage (e.g., a USB) or by setting up a partition on your internal hard drive.
There are several methods to create a bootable Windows drive, with the most common being:
- Using a USB drive with tools like Rufus or Microsoft’s Media Creation Tool.
- Creating a bootable partition on an existing hard drive (less common but useful for specific scenarios).
Tools and Requirements:
Before you begin, ensure you have the following:
- A Windows ISO file: Download the official Windows ISO from Microsoft’s website (e.g., Windows 10 or Windows 11).
- A USB flash drive (at least 8GB, preferably 16GB, for USB methods).
- A computer with internet access and administrator privileges.
- Software tools:
- Rufus (free, lightweight tool for creating bootable USBs).
- Windows Media Creation Tool (official Microsoft tool).
- Disk Management or third-party partitioning tools (e.g., EaseUS Partition Master, for creating a bootable partition).
- A valid Windows product key (optional, depending on your installation needs).
- Backup important data on the USB or hard drive, as the process will erase existing data.
Method 1: Creating a Bootable Windows USB Using Rufus
Rufus is a popular, free, and user-friendly tool for creating bootable USB drives. Follow these steps:
Step-by-Step Guide
- Download Rufus:
- Visit the official Rufus website (https://rufus.ie) and download the latest version.
- No installation is required; it’s a portable application.
- Download the Windows ISO:
- Go to Microsoft’s official website and download the Windows ISO file for your desired version (e.g., Windows 10 or 11).
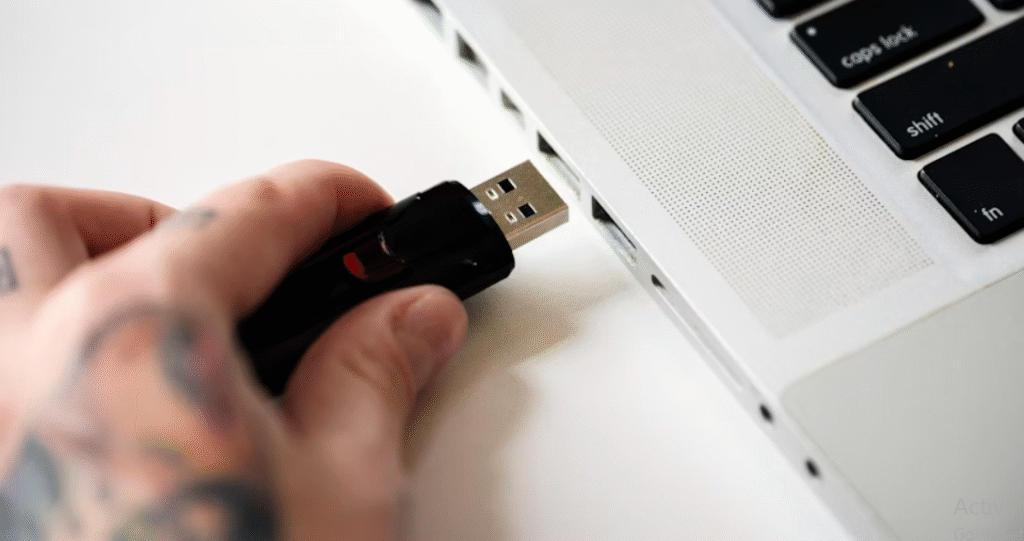
- Prepare the USB Drive:
- Insert a USB drive (8GB or larger) into your computer.
- Ensure you’ve backed up any data, as the USB will be formatted.
- Run Rufus:
- Open Rufus.
- Under Device, select your USB drive.
- In Boot selection, click Select and choose the Windows ISO file you downloaded.
- Set Partition scheme to MBR (for older systems) or GPT (for newer UEFI-based systems).
- Set File system to NTFS for Windows installations.
- Leave other settings as default unless you have specific requirements.
- Create the Bootable USB:
- Click Start to begin the process.
- Rufus will format the USB and copy the Windows installation files. This may take a few minutes.
- Once completed, you’ll see a “Ready” message.
- Eject the USB:
- Safely remove the USB drive from your computer.
Method 2: Creating a Bootable Windows USB Using Windows Media Creation Tool
The Windows Media Creation Tool is Microsoft’s official tool for creating bootable USBs. It’s beginner-friendly and doesn’t require third-party software.
Step-by-Step Guide
- Download the Media Creation Tool:
- Visit Microsoft’s website (https://www.microsoft.com/software-download) and download the Media Creation Tool for your Windows version.
- Run the Tool:
- Open the downloaded executable file.
- Accept the license terms.
- Select USB Option:
- Choose Create installation media for another PC and click Next.
- Select your language, Windows edition, and architecture (32-bit or 64-bit).
- Choose USB flash drive as the media type.
- Insert and Select USB:
- Insert your USB drive (8GB or larger).
- Select the USB drive from the list in the tool.
- The tool will format the USB and download the necessary Windows files (internet connection required).
- Complete the Process:
- Wait for the tool to create the bootable USB. This may take some time, depending on your internet speed.
- Once done, you’ll see a confirmation that the USB is ready.
- Eject the USB:
- Safely remove the USB drive.
Method 3: Creating a Bootable Partition on a Hard Drive
Creating a bootable partition on your internal or external hard drive is less common but useful when you don’t have a USB drive or want to dedicate a section of your hard drive for Windows installation.
Step-by-Step Guide
- Back Up Your Data:
- Creating a partition will not erase your entire drive, but it’s wise to back up important data in case of errors.
- Create a Partition:
- Open Disk Management on Windows:
- Press Win + X and select Disk Management.
- Right-click your hard drive and choose Shrink Volume.
- Allocate at least 8GB (preferably 16GB) for the new partition.
- Create a new simple volume, format it as NTFS, and assign a drive letter.
- Alternatively, use third-party tools like EaseUS Partition Master for easier partitioning.
- Open Disk Management on Windows:
- Download the Windows ISO:
- Obtain the Windows ISO file from Microsoft’s website.
- Mount the ISO:
- Right-click the ISO file and select Mount to access its contents as a virtual drive.
- Copy Files to the Partition:
- Copy all files from the mounted ISO to the newly created partition.
- Ensure the partition is marked as Active:
- In Disk Management, right-click the partition, select Mark Partition as Active (if available).
- Make the Partition Bootable:
- Use a tool like EasyBCD (free for personal use) to configure the partition for booting:
- Install EasyBCD.
- Open EasyBCD, go to Add New Entry, and select the partition with Windows files.
- Configure the bootloader to recognize the partition as a bootable source.
- Use a tool like EasyBCD (free for personal use) to configure the partition for booting:
Note: This method is more complex and requires familiarity with bootloader configurations. It’s recommended for advanced users or when USB options are unavailable.
Installing Windows from a Bootable Drive
Once you’ve created a bootable USB or partition, follow these steps to install Windows:
Step-by-Step Guide
- Prepare Your Computer:
- Back up all important data on the target computer, as installing Windows may erase existing data.
- Connect the bootable USB or ensure the bootable partition is ready.
- Access the BIOS/UEFI:
- Restart your computer and press the key to enter the BIOS/UEFI (common keys: F2, Del, F12, or Esc).
- Set the USB drive or bootable partition as the first boot device in the Boot Order menu.
- Ensure the boot mode is set to UEFI (for GPT) or Legacy (for MBR), matching your bootable drive’s configuration.
- Boot from the Drive:
- Save changes and exit the BIOS/UEFI. The computer will restart and boot from the USB or partition.
- You’ll see the Windows Setup screen.
- Install Windows:
- Select your language, time, and keyboard preferences, then click Next.
- Click Install Now.
- Enter your Windows product key (or skip this step if you don’t have one).
- Accept the license terms and choose Custom: Install Windows only for a clean installation.
- Select the drive or partition where you want to install Windows. If necessary, delete existing partitions or create new ones.
- Follow the on-screen instructions to complete the installation. The computer will restart several times.
- Set Up Windows:
- After installation, configure your user account, region, and preferences.
- Install necessary drivers and updates for optimal performance.
Troubleshooting Tips
- USB not detected in BIOS: Ensure the USB is properly connected and formatted. Try a different USB port or drive.
- “No bootable device” error: Verify the boot order in BIOS and ensure the drive is correctly configured (MBR/GPT).
- Slow installation: Use a USB 3.0 drive and port for faster performance.
- Invalid product key: Double-check the key or skip the step and activate Windows later.
- Partition not bootable: Ensure the partition is marked as active and contains all Windows files.
Conclusion
Creating a bootable Windows drive is straightforward with tools like Rufus or the Windows Media Creation Tool for USB drives, while creating a bootable partition requires more technical steps but is a viable alternative. Once the bootable drive is ready, installing Windows is a simple process of booting from the drive and following the setup prompts. Always back up your data and verify your system’s compatibility (UEFI vs. Legacy) to avoid issues.
By following this guide, you can confidently create a bootable Windows USB or partition and install Windows with ease. If you encounter issues, refer to the troubleshooting tips or consult Microsoft’s support resources for further assistance.
Visit Our Other Articles Here : Skill Development


Very helpful blogs.thanks dear